 Industry InsightsHow to Set Diameter and Weld Quality on a Ring Making & Butt-Welding Combo MachineAn integrated ring-making and resistance butt-we…

How to Learn a 3D Wire Forming Machine: Beginner Path from Hardware to Solo Programming
Industry Insights
Author:
leaf
Time:
3 月 12, 2026
A 3D wire forming machine (also called a 3D wire bender) is high-end equipment that can bend arbitrary shapes in three-dimensional space. It is widely used for automotive parts, display racks, housewares, medical devices and more. For beginners, complex axes, busy screens and spatial coordinates can feel overwhelming. This guide maps a practical learning path from zero so you get productive faster with fewer dead ends.

1. Learn the Machine Layout First — Do Not Jump Straight into Programming
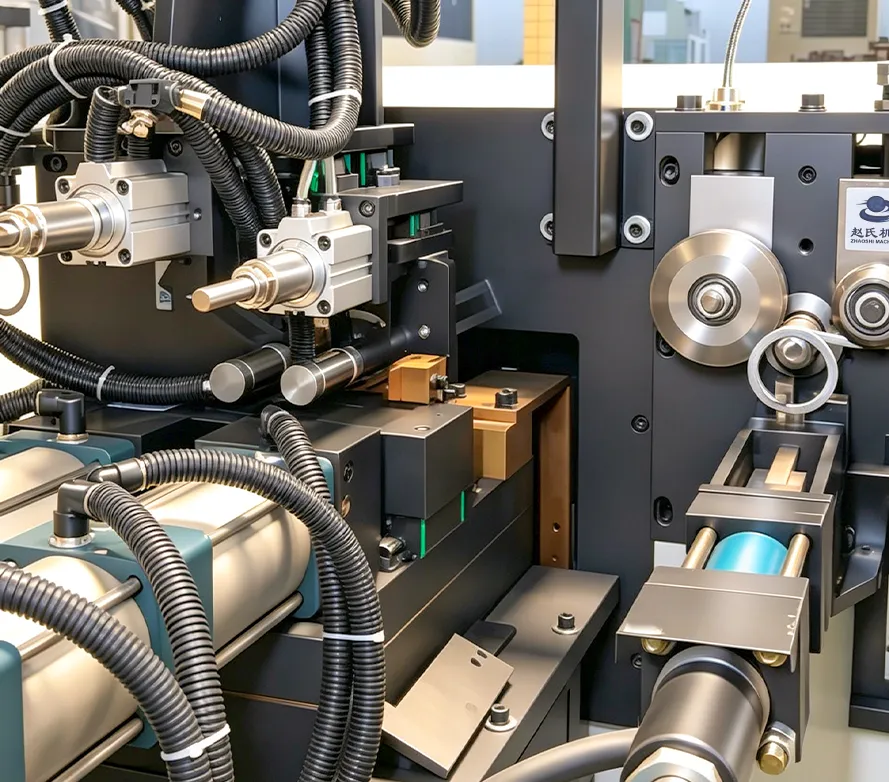
The first step on any machine is not pressing buttons — it is recognizing the hardware. A typical 3D wire former has these core sections:
Feed unit: pulls wire from the payoff and controls length precisely, usually with servo-driven feed rollers — the first gate to accuracy.
Straightening unit: coil stock is curved; a set of straightener rollers must straighten it before the bend zone. The principle is similar to a standalone straightener.
Bending unit: the heart of 3D forming. One or more bend arms (bend heads), plus mandrel and assist-push devices. Arms rotate and swing in space to create bends in different directions.
Cut-off unit: severs the wire after forming — either to a fixed length or after the shape is complete.
Control system: usually an industrial PC with dedicated software — the programming and operator interface.
Beginner task: before power-up, walk around the machine with the manual, locate every unit and state what it does. If you can point to a part and name its function, you have passed this step.
2. Understand the Coordinate System — Spatial Thinking Is the Core of 3D Bending
The hard part of 3D forming is driving a wire along a specified path on X, Y and Z. That requires a solid grasp of coordinates.
Basics: feed direction is often X (or Z, depending on OEM), left/right swing is Y, up/down swing is Z. Each bend changes the outgoing wire direction.
Beginner task: bend a piece of iron wire by hand into a simple cube or S. After each bend, ask which plane and direction you used. Sketch an isometric view and mark angles and directions. Spatial sense is trained by doing and drawing.
3. Learn the Software UI — Icons First, Then Data Entry
Most modern 3D formers use graphical programming; some even import DXF. Smart UI or not, you must master the basics.
Core daily actions: create a program, enter wire diameter and material data, enter bend-point coordinates or length/angle, simulate, save.
Beginner task: during OEM training or while reading the manual, clarify every icon and menu. Do not fear wrong presses — use simulation mode to explore freely. Enter a simple two- or three-bend set and check whether the 3D preview matches your intent.
4. Master Manual Setup — Homing and Jog Are Fundamentals
Before auto run, learn manual mode, including:
Zero/home: after every tooling or wire-diameter change, reset the bend-arm reference zero. A wrong zero skews every angle. Learn to jog each axis to the datum and set zero — the premise of accuracy.
Manual feed and bend: use jog keys for feed and single-axis motion. Essential when setting tooling or diagnosing faults.
Beginner task: under a mentor, drill tooling change, zeroing and single-step moves until you can find every axis jog key blind and know which mechanism moves.
5. Start Programming Simple — Easy Shapes First
Programming is the core skill, but do not open with complex parts.
Step 1: straight length plus one bend — e.g. a bar with a 90° end. Learn how feed length relates to bend angle.
Step 2: U or square shapes — two or three bends in the same plane. Control direction and distance of the next bend.
Step 3: spatial parts — an L bracket or simple 3D frame. Use space coordinates: up/down and left/right.
Step 4: multi-bend complex parts — seat frames, display racks. Learn advanced tools: rotate coordinates, mirror, arrays.
Beginner task: take simple drawings (or reverse-measure finished parts), program, tune and run them one by one from easy to hard. Each success builds confidence.
6. Learning Reminders
Do not fear scrap: early setup wastes wire — that is normal. OEMs trial on cheap iron wire first. Beginners should practice on iron wire or inexpensive stock.
Ask and note: ask mentors and OEMs; log common alarms and fixes — that notebook becomes your experience bank.
Safety first: many moving parts. Keep hands out of motion zones; stop and lock out for tooling changes.
Maintain regularly: clear chips and check lube daily; weekly check fasteners and cable damage. A healthy machine is easier to tune.
Summary
The worst habit is diving into complex programs and getting lost. The right path: know the machine, learn space coordinates, learn the UI, build manual skills, then program simple parts upward. Practice step by step; within about a month you can run solo. With fluency you will see 3D forming is simply planning a spatial path for wire. Good luck getting productive soon!
Related articles
View allIndustry InsightsHow to Set Diameter and Weld Quality on a Ring Making & Butt-Welding Combo MachineAn integrated ring-making and resistance butt-we…Industry InsightsHow to Straighten Wire Fast on a CNC Wire Bender: Shop-Proven Setup That Saves ScrapCNC wire benders deliver high accuracy and speed…Industry InsightsCNC Servo Straightener Feed Length Off Spec? Mechanical-to-Electrical Troubleshooting GuideCNC servo straighteners are workhorse equipment …Related news

Foshan Zhaoshi designs and builds CNC wire forming and resistance-welding equipment — from ring makers and 2D/3D benders to flange lines and turnkey cells. 5000㎡ Shunde workshop · 20+ years · engineer-led support.
Mobile/WhatsApp
Address
No. 5, Xiashi Section, Yangda Road, Xiashi Village, Lunjiao Sub-district, Shunde District, Foshan City, Guangdong Province, China
Mon–Sat 08:00–18:00 (GMT+8)
Follow Us
Copyright © 2026 Foshan Zhaoshi Precision Electromechanical Co., Ltd. All rights reserved.
business license